Basic Motorcycle Maintenance
Knowing one end of a motorcycle from another and understanding the basic functions of each component is a good starting point when it comes to carrying out basic – and sometimes essential – regular maintenance. We’ve covered the ins and outs of what each bit of your bike is and what it does elsewhere, so here we’ll look at basic motorcycle maintenance and the key jobs you should be looking to get to grips with.
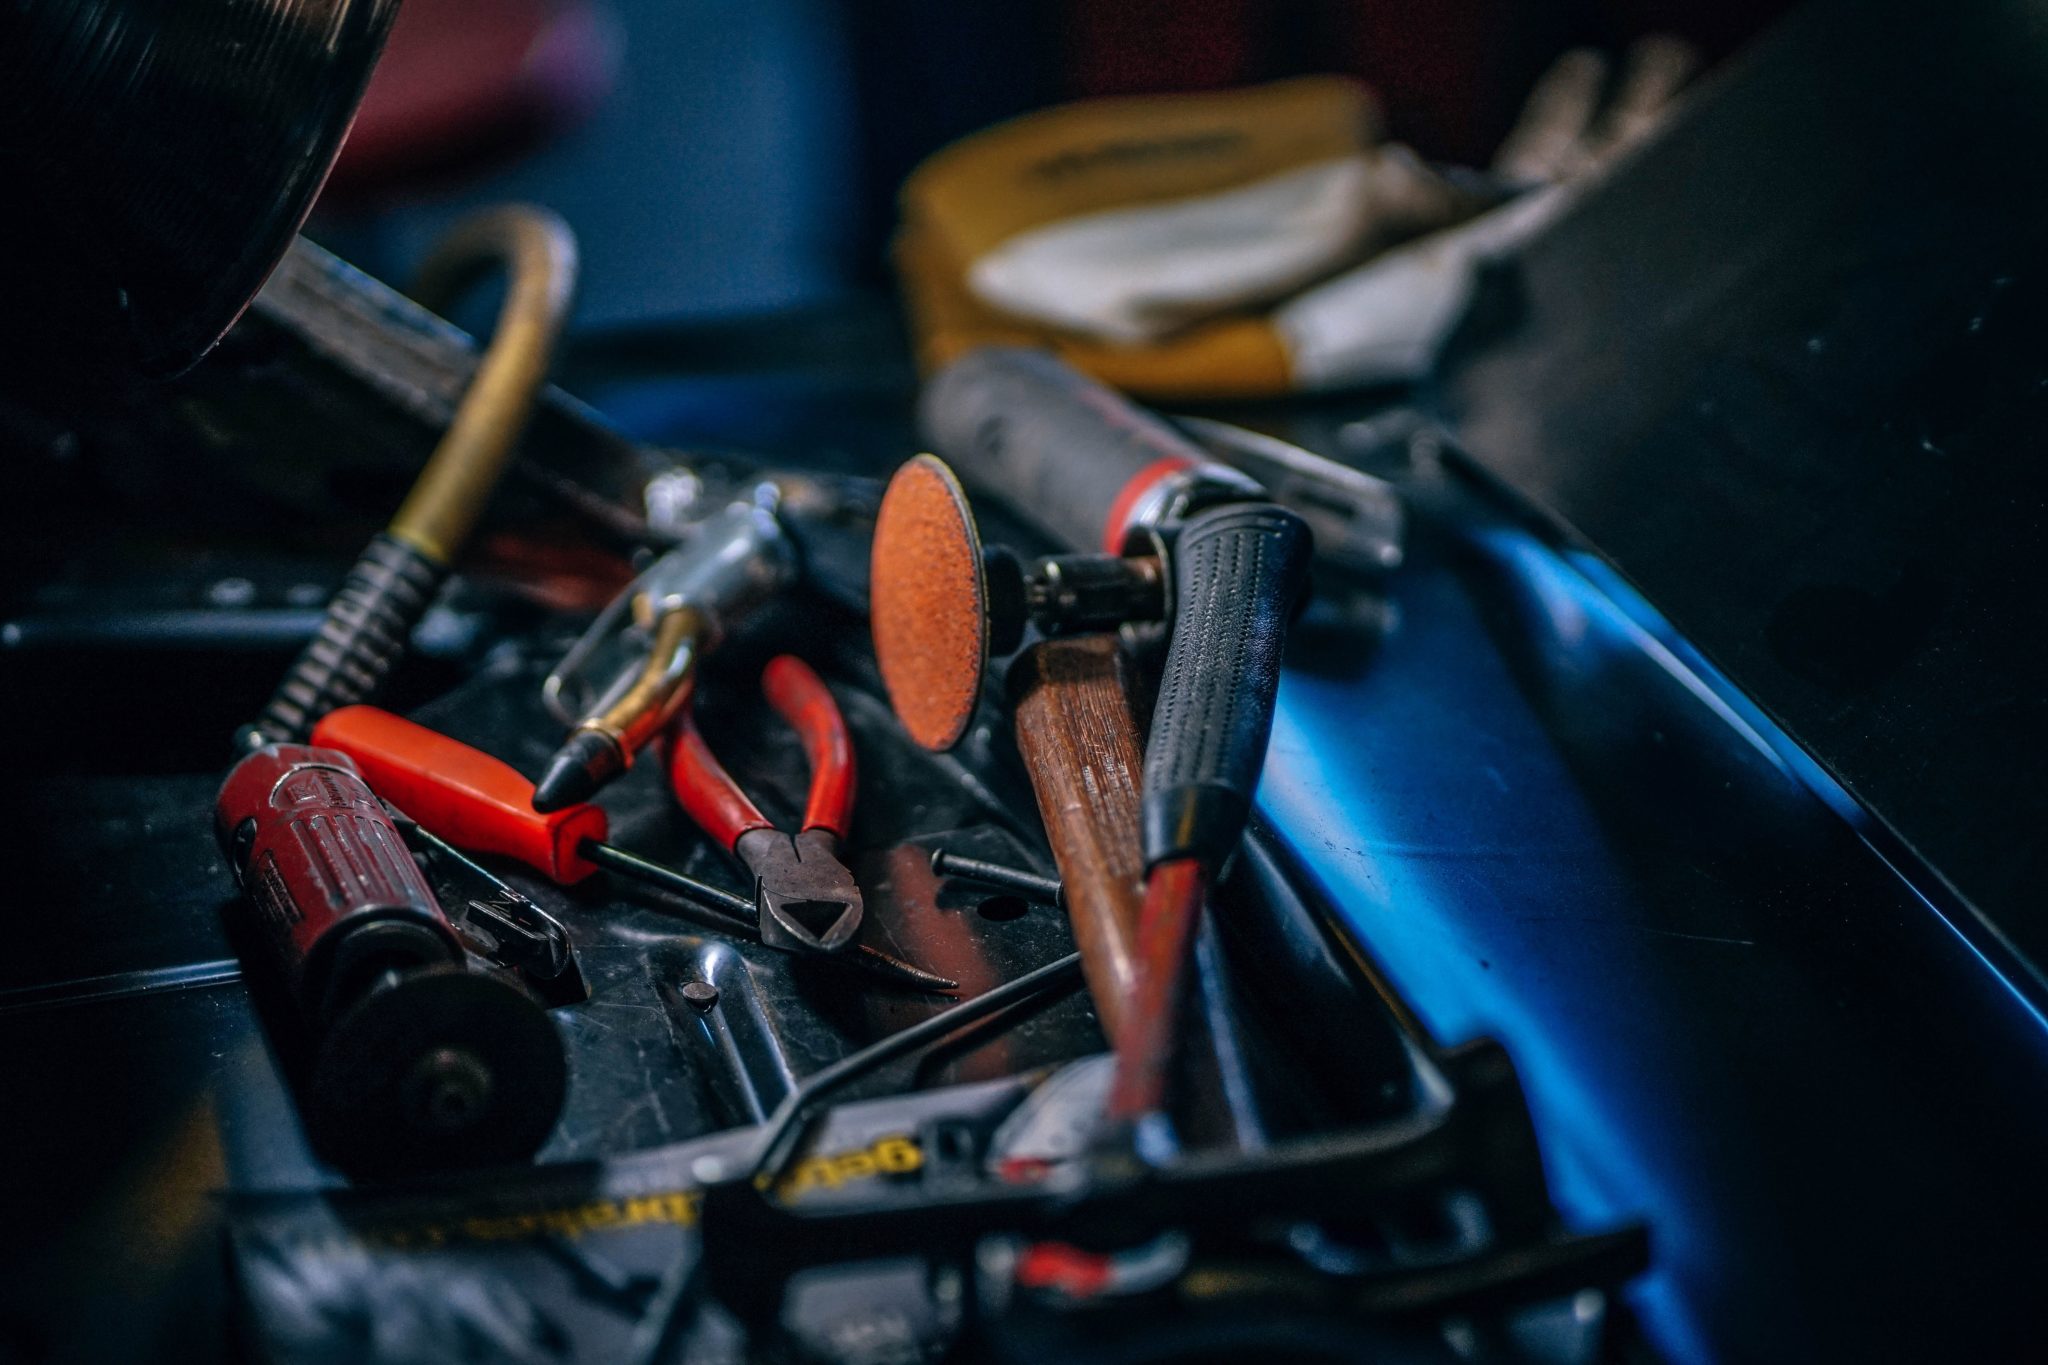
What tools do I need?
Before you start, you’ll need some decent basic tools. A 3/8in-drive metric socket set and metric combination spanners are a good place to start. You might also need an extra-large socket to loosen the rear wheel spindle nut.
Screwdrivers are another must-have, a mix of flat-bladed, Phillips (a plain cross head) and Pozidriv – although many of the plain cross-headed screws on Japanese bikes should actually be fastened with the elusive JIS (for Japanese Industrial Standard) screwdriver.
Credit: Unsplash
Other handy things to have are combination pliers, hex-head T-handle drivers (much better than Allen keys), a tool for undoing your bike’s oil filter and a decent quality foot pump and pressure gauge.
You’ll also need a selection of lubricants – WD40, chain lube (if your bike has chain drive), some grease – and, crucially, some cleaning kit, including some bike-specific shampoo and degreaser and specialist brushes for those hard-to-reach places.
First things first, check your tyres
The most important regular maintenance job – and one of the easiest – is checking your tyres. Not only should you check the pressures regularly – every week at least, if not more often – but you should also keep an eye on the tread depth and inspect them for any damage, such as splits or tears, or any sharp objects embedded in them.
Another key job is checking – and, if necessary, topping up – your oil. It’s usually very easy to do, but you’ll need to read your owner’s manual to find out how to do it properly, for example, whether the engine should be hot or cold, and if the bike should be upright or on its sidestand.
Credit: Unsplash
Changing your oil and filter
Changing the engine oil and filter is, In theory, another easy DIY job; although in practice it depends on your bike and how accessible its oil filter and drain plug are. You might need a particular kind of oil filter removal tool to get to the filter in among, or behind, the exhaust header pipes, and to do that you might need to remove sundry bits of bodywork.
But the fundamentals of an oil and filter change are the same in all cases: warm the engine, drain the oil, change the filter, refit the sump plug (with a new sealing washer, if not a new plug itself), refill with new oil. And always get rid of the old oil in a responsible way. Your local council tip should be able to recycle it, so take it there.
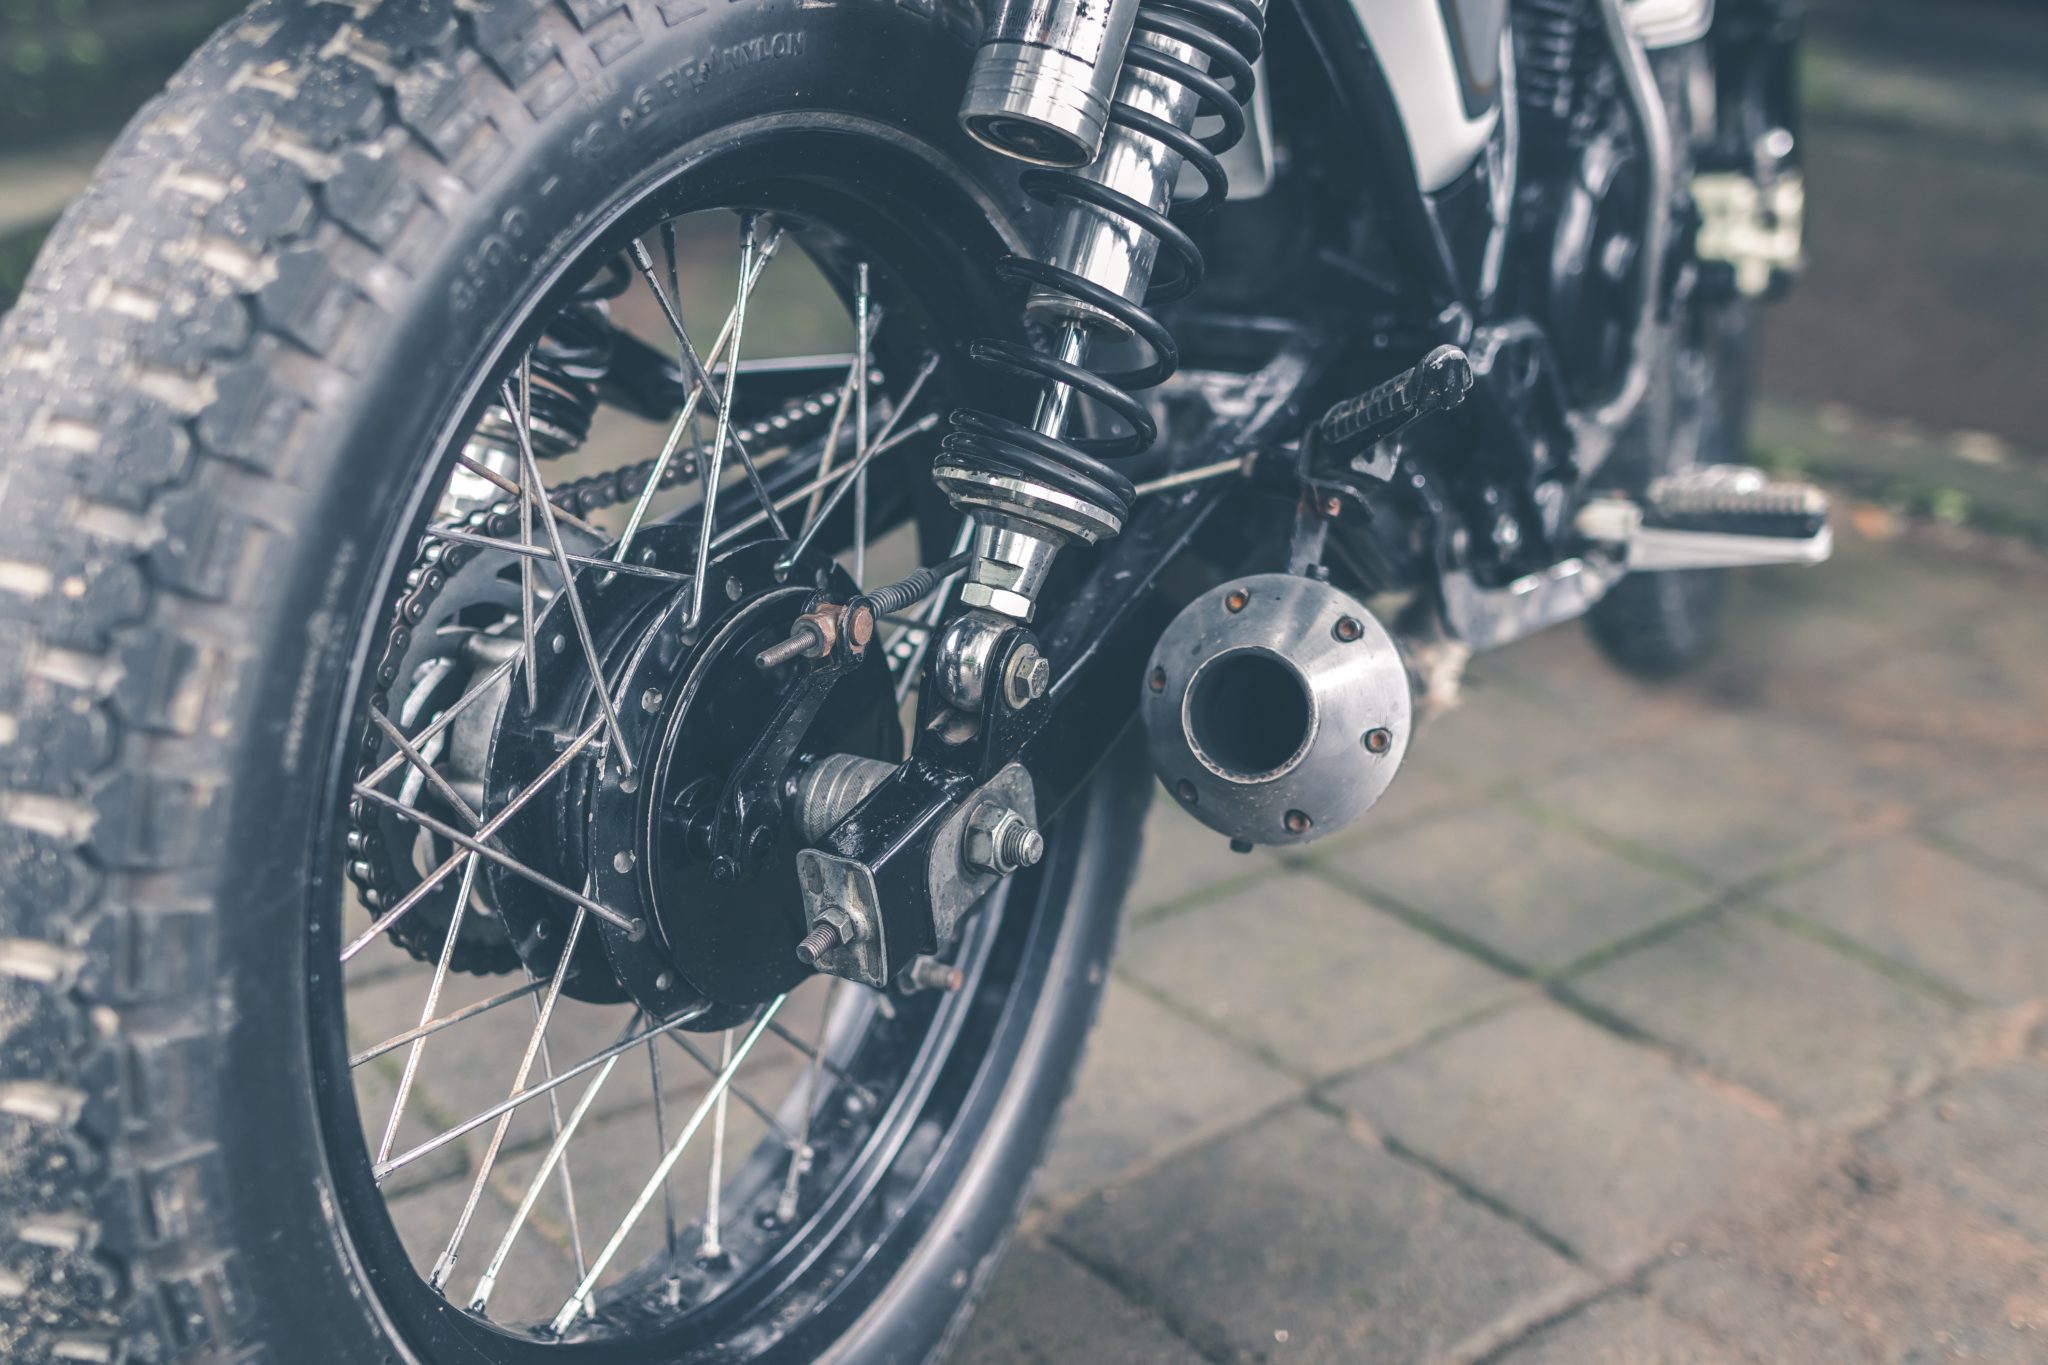
Adjusting chain tension
If your bike has a chain final drive, then sooner or later you’re going to have to adjust the chain tension. Again it’s a pretty simple job – it’s designed to be – and should only take a few minutes, but there’s a knack to getting it right.
Before you start, familiarise yourself with the adjusters and their calibration marks on each side of the rear wheel spindle, and make sure you use good-quality spanners on the adjusters’ locking nuts.
You’ll have to check your owner’s manual for the ins and outs of adjusting the chain on your particular bike, the the basics are that you loosen the rear wheel nut, loosen the adjuster locknuts, adjust the rear wheel position to take up the slack in the chain, then tighten the locknuts and wheel spindle nut back up.
In between adjustments, the chain will need regular lubricating. How much depends on how many miles you do and how the weather has been – rain spray will shot-blast lube off the chain – but the main tip is to remember to lubricate the chain immediately after riding, not before.
Do it after riding and the warm chain will allow the viscous chain lube to penetrate the knooks and crannies before settling in place. Lube it just before riding and much of it will simply be thrown off – mostly over the rear wheel.
Battery checks are a must!
It’s worthwhile periodically checking that the battery’s terminal connections aren’t loose and are free of corrosion. A bit of Vaseline smeared around the exposed metal of the terminal will keep corrosion at bay, but only put it on once you’re sure there’s good metal-to-metal contact at the connection itself (Vaseline acts as an insulator and will actually impede conduction).
If you’re bike isn’t used every day, and provided it’s stored somewhere indoors with a mains electricity supply, a battery conditioner is a good investment. These ‘trickle charge’ the battery to keep its voltage topped, giving it a longer, happier life.
Air filters and fluid levels
Another (usually) very simple job is changing the air filter. A nice new air filter will help your bike breathe more easily, and changing it shouldn’t involve much more than lifting the seat and/or petrol tank and undoing a few screws. Some foam air filters are washable; if so, simply clean and re-oil according to the manufacturer’s instructions. Easy – if a bit messy.
Other things to keep an eye on are all the fluid levels – brake fluid, clutch fluid (if it’s a hydraulic clutch) and engine coolant, plus you’ll need to check the brake pads for wear.
Changing the pads themselves is actually pretty easy, but the consequences of making a mistake don’t bear thinking about. You’ll need to use good quality, properly fitting tools to remove both the brake caliper itself and the pad retaining pins.
If your pads are held in by hex-headed bolts, don’t use an Allen key to undo them. Instead, use hex-headed bits to use with your socket set. And you’ll need a torque wrench to tighten everything up to the recommended settings at the end.
Get yourself some brake cleaner
Get yourself some brake cleaner, too, and give everything a good clean while the pads are out – an old toothbrush comes in handy. On older – or very dirty – bikes, pushing the exposed caliper pistons back into the caliper in order to accommodate the new, thicker brake pads can be a bit tricky and might require a bit of force.
You’ll also need keep an eye on the brake fluid level in the master cylinder as you push the pads back in; if it gets too high, you might need to remove some, either via a caliper bleed nipple or from the master cylinder itself. If you’re unsure about doing any of it yourself, however, leave the job to the professionals.
Finally, keeping your bike clean should be considered a key maintenance job. It can be a bit of a faff, especially if you ride in all weathers, but not only will a regular clean keep it looking nice, but it will also help prevent corrosion and make it easier and more pleasant to work on when any maintenance jobs need doing.
It’s also a good way of keeping an eye on fluid levels and all the things that need regular checking for wear and tear.