Max Vanoni has built a reputation for himself as a trusted and meticulous mechanic, working at reputable London workshops as well as raising attention with his flat-track projects.
His attention to detail made him a pivotal member of the Death Machines Of London team and of award winning restoration projects of classic bikes.
Chain – check, adjust and lubricate!
Check the tension and lubricate, little but often.
Ideally you want to check the tension sitting on the bike, with your weight on.
I know there are a million ways and ideas on how to do this, but that’s how I do it: I get the bike off the stand and put my weight across the bike, on the seat, and check for a 25 mm play about halfway between front sprocket and rear spindle (not rear sprocket).
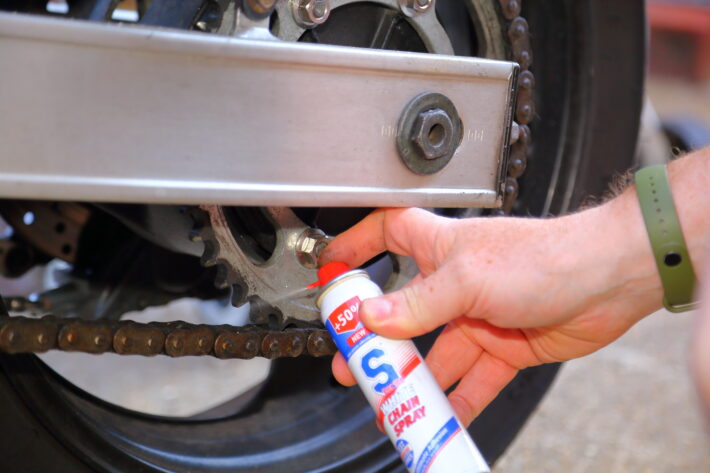
I then measure and adjust trueness from a fixed point such as the swingarm pivot to the rear spindle – make sure the wheel is adjusted by the same amount on each side, so it’s inline with the frame and front wheel while pointing straight ahead.
It’s best to lubricate the chain after a ride, as the chain will be warm, making it easier for the lubricant to penetrate into the moving parts of the chain.
Suspensions
This is one thing that gets routinely neglected on a bike and gets progressively worse. Fork oil, like any fluid, needs changing at set intervals.
But you can’t see it, it’s quite a labour intensive job to change, and fork seals don’t blow that often unless the stanchions are damaged, so a lot of owners and mechanics just leave it for years on end.
I’d recommend a good overhaul every two-three years depending on mileage. It’s not a massive complex job to do yourself on old-school conventional forks, so if you’re reasonably handy with the spanners, give it a go – though you do need some special tools for USD forks.
If in doubt, get a grown-up to help. You can save cash by taking your forks off and bringing the to a garage – they’ll gladly change the oil for a fee, and you’ll save them finding a bench for the bike, taking wheel and front end off, etc.
Oh, and while you’re at it, check for pitting and wear on the moving parts, damaged bump stops and play in the linkages on the rear suspension.
In regards to suspension preload and damping setup, OEM suspensions are designed to work across a range of uses and users but that means that to function at their best for you a bit of work is required.
Broadly speaking basic suspensions set up is not a big job, there are plenty of good ‘how-to’ out there and any good mechanic should be able to help you.
On the other hand get suspensions dialled in correctly, however is a completely different ball game, so it’s better left to the specialists.
For example, we work with BG Motorsports to get that last precious bit out of the set up when race prepping.
One vital part of a suspension setup strategy is noting where you are, what you changed, and how it feels.
So start off at the standard factory settings all-round. Change one thing. Go for a ride – on road or track.
Think about how the bike feels – better? Worse? No different? Make copious notes as you go along.
Setting static sag is the conventional place to start – ensuring that the preload is set so the suspension is within its working range when you’re sat on it.
Then you can work on damping settings front and rear. Good luck!
Sidestand & centrestand
It’s a minor thing, but a well-maintained sidestand can avoid an embarrassing moment – or worse.
If you’ve ever gone round a corner with your sidestand partially-down then you’ll know how bad it can be.
I see sticky, bent, loose or worn-out sidestands all the time – it’s one of those things that people don’t think about and again it’s one of those things that gets progressively worse.
Essentially, you should be able to flick the stand up, without the need to push it up all the way with your foot.
A centrestand should go up and stay up, not bounce up and down because one of the springs is missing or is the wrong one.
Some maintenance here will also make it much easier to get your bike onto and off of the centre stand.
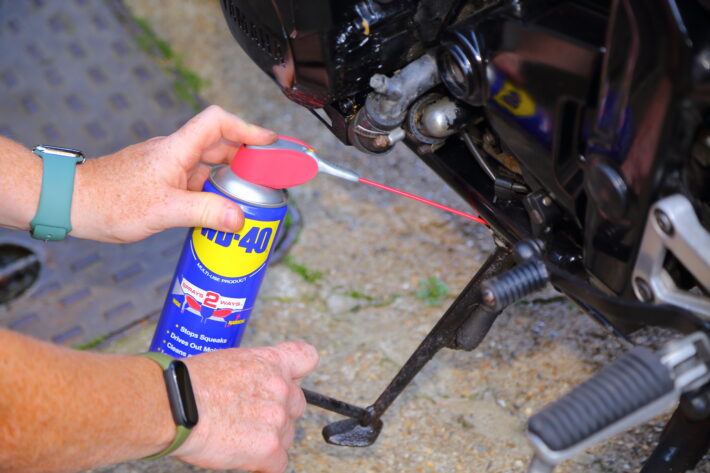
It’s simple enough: a good squirt of a light penetrating lubricant into the pivot area will often give quick easy improvements.
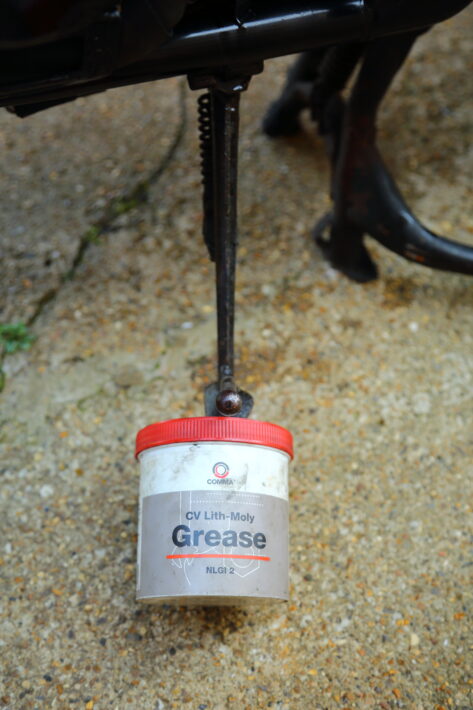
But for best results, especially on old bikes, it’s worth taking the whole thing off, stripping down the pivot bolt, and giving it a deep clean, then re-applying some lithium grease.
If the pivot bolt is badly worn, a new one will improve the action for a few quid, and a brand new spring won’t break the bank either.
If the pivot ‘jaws’ are slightly bent open, you can carefully squeeze them back in with a C-clamp, mole grips or similar on a steel framed bike.
If you’re lowering or raising your bike, it’s worth considering how this will impact the way it sits in the stand – the side-stand might hold the bike too upright once it’s been lowered, and then you risk it falling over if parked on a slight camber.
Last thing – always leave your bike in gear when parking on the sidestand.
It’s a habit that will stop at least one ‘bike rolling forward off the stand and smashing on its side’ incident in your biking life…
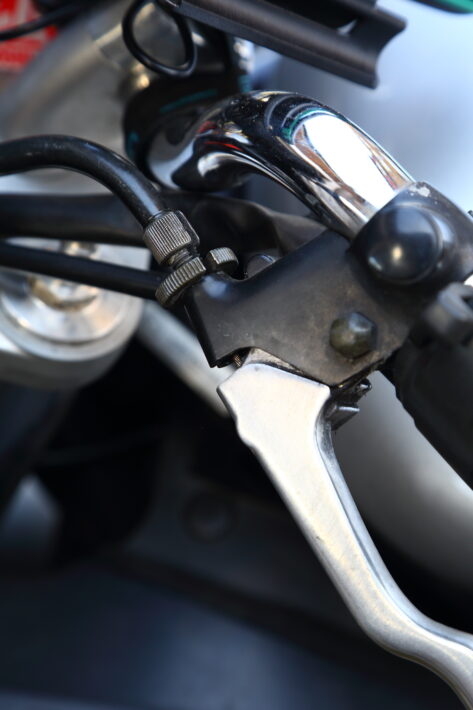
Free play on clutch and throttle cables
On pre-RBW throttles and cable operated clutches it’s important to adjust the free play with the adjusters at the handlebars.
As the cable stretches through use you’ll need to compensate for that by re-adjusting the free play.
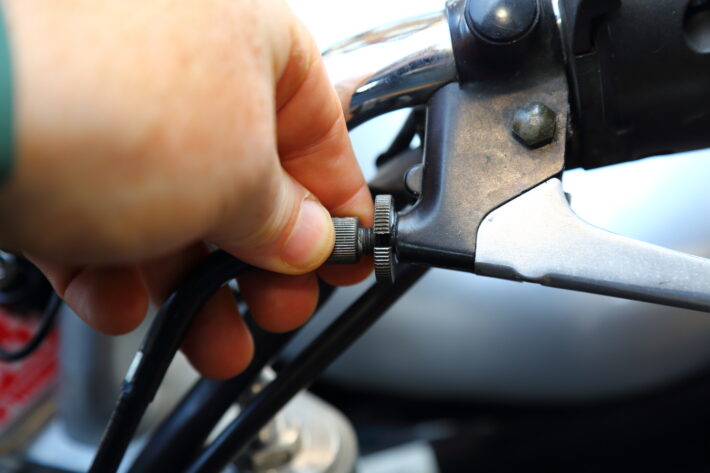
For the throttle, bring the adjuster in, so you have plenty of slack, and then progressively turn it until you only have a few degrees of free turn before the cable tensions.
Finally check the bike does not rev up when you turn the bars side to side. On the other side, you want about 4-5mm free play on your clutch cable, measured where the lever pivots away from the cable adjuster.
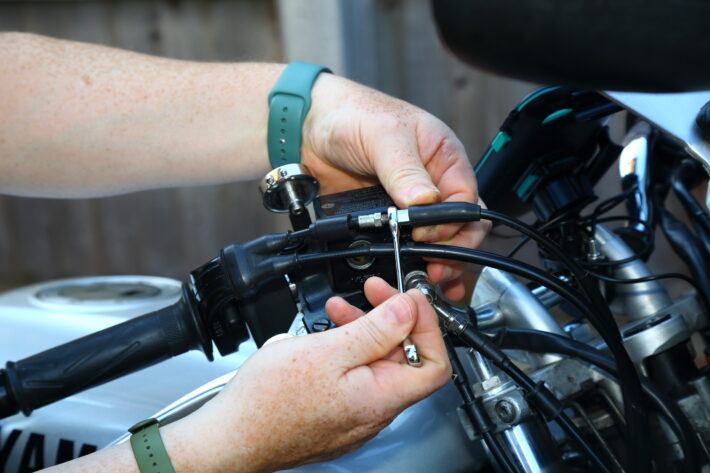
Lubricating the cable and pivot points is an inexpensive way to get the best out of your bike – and on older bikes, consider new cables now and again, especially on the clutch side.
A snapped clutch cable is a nightmare to sort at the side of the road unless you carry a spare, and is easily avoided by regular maintenance and checks.
Finally, for all you fashionable types, it’s worth noting that end bar mirrors, if incorrectly installed, can drag on the twist-grip, holding the throttle open.
That’s an MOT fail, as well as a pretty dangerous thing, for obvious reasons.
Make sure there’s plenty of clearance between the mirror fixing and the twist-grip.
Tyre age and pressure
There’s no such a thing as one correct tyre pressure, it all depends on the tyre, the bike, and how it’s being used.
If you just commute to work each day it stands to reason you’ll be using a different set up than if you only do B-road blasts on a Sunday.
That’s why is worth experimenting a bit and find your sweet spot. Start with the factory-recommended pressures, and then try dropping a couple of PSI at the rear first, to see how that feels.
The front is more sensitive, small changes can make big differences to steering response and handling.

Different tyres can work very differently: I have a good friend that swears by his Michelins, whilst I never got on with them, preferring Pirelli, and vice versa.
Another aspect worth considering is tyre age: they all carry a legally-required manufacture date, in the form of week/year stamp.
I recommend a maximum life of five years, no matter how much tread is left, or how new they look! I also won’t buy tyres that are more than 18 months old.
The main reason is that the rubber just doesn’t work as it should anymore and, if you don’t do a lot of mileage in a year, you’ll make your money go further.
Tail light/electric
Check the operation of your electricals regularly: horn and pass light, as well as the tail/stop light.
It’s the easiest way to get a pull from the cops, as well as being potentially dangerous.
If you commute a lot then the chances are your switchgear takes a bit of battering as moisture and dust gets into the nooks and crannies and contacts can oxidise, especially on the less frequently-used buttons.
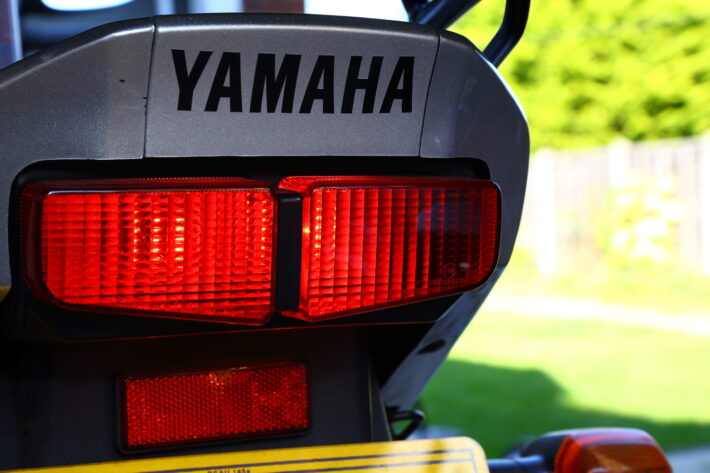
Your brake light is also easily missed, since you don’t see it from the riding position.
When they fail it could be a blown bulb, sometimes a blown fuse, or one of the brake switches: the rear brake switch often gets damaged when bikes get dropped.
49, New King’s Road
London SW6 4SE
3 comments on “6 tips from a motorbike mechanic to keep your bike in check”
All good advice even to an 66 year old rider first bike NSU. On the farm. But we all get complacent. Especially with tyres. Cheers.
Very good Tips
Still see so many Bikes
With Slack Chains
Bald Tyres seem a thing
Of the past as most Riders
Are not 17 & Skint these Days!
A little Lube here & there
Cheap to Do & Makes all the
Difference to how the Machine
Rides
Brilliant info. Thanx